Table of Contents
Installation
Downloading AMASS
C-Motion software is all downloaded over the Internet at www.c-motion.com.
Customers are provided login information to access the download page.
After you log in at www.c-motion.com, you will see a screen similar to this:
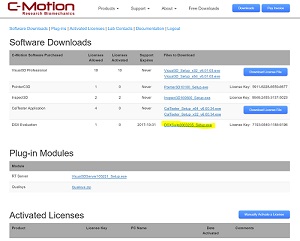
- Click the DOWNLOAD Buttons to save the AMASS installation files to your computer.
Most web browsers will offer you a choice of where to save the downloaded file. Make sure you remember where you save the downloaded file.
Run the installation executable file you downloaded.
Install NaturalPoint SDK
If you intend to use Natural Point cameras, please download the Optitrack SDK here and install it.
The AMASS Wand
An AMASS calibration wand must be used to perform the calibration. It is a tensioned cable on which is mounted six markers spaced more or less evenly.
NOTE If AMASS reports that the Wand is not recognized when calibrating, then it is assumed that there were some deficiencies in the wand motions, camera setup, or data capture, and the calibration is aborted. This technique ensures that a successful calibration guarantees high accuracy. However, it could also be that the markers are upside down. There is a tiny dot on each wand marker. Make sure the dots point down, towards the handle.
Visual3D
DOWNLOAD and install Visual3D if appropriate. Instructions are here.
Configure AMASS
AMASS configuration shortcut - If using the NaturalPoint L-Frame, copy the .ref file from the tutorials sample to your own working directory (i.e. the place you will be saving motion capture files). Here is another copy L_Frame.ref
Start AMASS, create an initial Project. Click on the AMASS program icon in the desktop to start the AMASS shell program.
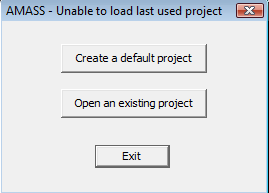
Note: AMASS starts and loads the last project it was working on. If there was no previous project, or it was moved, then the following screen appears.
For a new installation, click “Create a Default Project”.
Project Control
Enter a file name (i.e. something like “std_project.prj”).
Set the Folder box in the bottom of the screen to the directory where you will be saving data.
Project Tabs - Here are some standard settings…
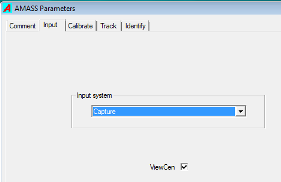
Input Tab
This tab set AMASS input data format options.
- Input system = Capture (multiple input files formats are supported. Capture2D is the program used for NaturalPoint cameras. Other input sources are also supported.)
- ViewCen = Checked (to view centroids meaning to actually see the targets/markers)
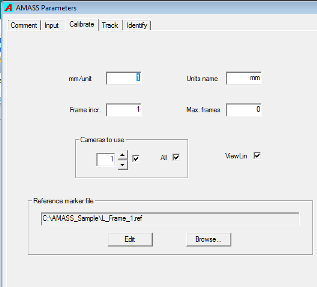
Calibrate Tab
This tab set AMASS volume calibration options. No need to change anything unless the file location changed.
- Cameras to use = All checked (This option allow you to disable input from specific cameras)
- Reference marker file = C:\[your directory]\L_Frame.ref.
Click Browse… and navigate to select the file you want. This file identifies your L-Frame and where the markers are located on it. The sample is for a NaturalPoint frame.
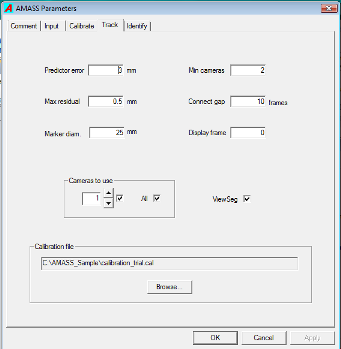
Track Tab
This tab set AMASS target tracking options.
- Calibration file = BLANK (you haven't calibrated the volume yet)
This is not critical, since if you create a new calibration file (or run the tutorial) when you click an “Apply” button that will overwrite whatever is here.
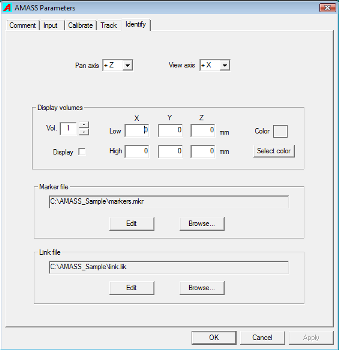
Identify Tab
This tab set AMASS target naming and identification options. You likely do not have a marker file. when you go to identify your first set of targets, save the marker names you use and this entry will automatically be updated.
- Marker file = can be blank. If it is something else, click Browse… and then navigate to select your .mkr file.
- Link File = can be blank. It is unused now, but will be needed for the automatic tracking feature (coming soon)
Click OK to close the AMASS Parameters/Project window.
You are now ready to collect data!
Turn on your cameras and click the Capture2D button.


