Table of Contents
Software Development Kit
To allow users of the DSX Suite to expand the suite with their own code, a DSX Software Development Kit, the (DSX SDK), is included as part of the suite. The DSX SDK comes in its own installer file and needs to be installed separately from the DSX Suite. Users can add custom algorithms to the DSX Suite using the DSX SDK to compile and build additional dynamic library files (dll files) that most DSX applications will load during start-up.
Currently the SDK enables our DSX users to develop their own LCS algorithms that can be applied in Orient3D. We plan the expand the SDK in the future.
DSX SDK Software Requirements
In order for the generated dll files to work properly with the DSX applications they need to be compiled and build with the same compiler that is used for DSX Suite. Currently this is: Microsoft Visual Studio 2019.
Debugging the newly developed code requires the DSX Suite needs to be installed as well. The use of the Qt and/or VTK libraries is not required, but if they are used, their versions need to match the ones with which the DSX Suite is developed.
Current Qt version: 5.13.1
Current VTK version: 8.2
Downloading the DSX SDK
HAS-Motion software is all downloaded over the Internet at service.has-motion.com. Customers are provided login information to access the download page as part of their initial email.
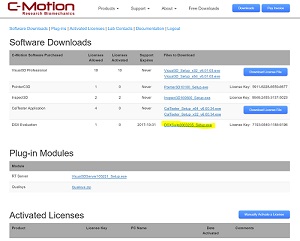
After logging into your customer account, you will see a screen similar to this:
Click the DOWNLOAD Buttons to save the DSX SDK installation file to your computer. Most web browsers will offer you a choice of where to save the downloaded file; make sure you remember where you save the downloaded file. Run the installation executable file you downloaded.
We recommend saving at least one prior installation file of the DSX SDK that works for you, as older installation files may be removed from the HAS-Motion download page without notification.
Installing the DSX SDK
When you run the executable file that you downloaded you will be guided though the installation steps. Your computer may ask you to confirm that you trust the source of the program you are installing.
The installer will install
- a number of header files in the include folder
- one source file (CMGlobalTime.cpp) in the src folder
- 4 static library files in the lib folder
- a working example in the Example folder.
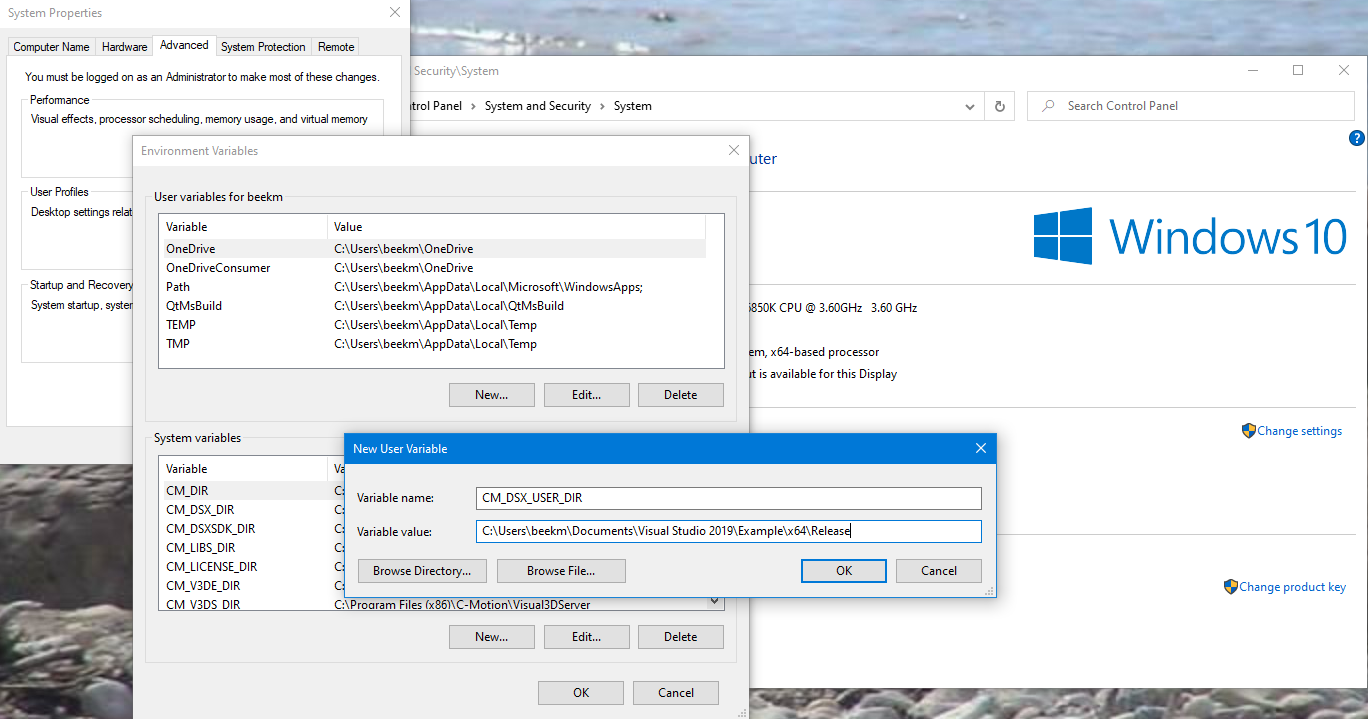
It will also add the CM_DSXSDK_DIR variable to the computer's registry. This environment variable enables the DSX applications to find your dll files. This will be a system-wide environment variable if the installer is run with administrator privileges, otherwise it will only be available to the current user.
When the Completed dialog appears the DSX SDK has been successfully installed on your computer.
Using the DSX SDK
The easiest way to get started is to copy the contents of the Example folder in the SDK installation folder to a location where you have write permission. The names of the three *.vcxproj files can be changed in Windows Explorer (e.g. into MyDll.vcxproj, MyDll.vcxproj.filters, and MyDll.vcxproj.user) as long as all three files have the same name and their extensions remain unchanged. The project can be loaded into Visual Studio by double clicking on the *.vcxproj file or by starting Visual Studio, selecting 'Open a project or solution' and selecting the .vcxproj file in the file dialog.
The names of the header and source files can be changed in Visual Studio. New files (with new C++ classes) can be added as well. On exit Visual Studio will give the opportunity to save the *.sln (solution) file. This is not required, but is a means of keeping multiple VS projects (i.e., multiple dlls) together.
Export directive
The LCSExampleModule.h (or MyDllModule.h) file defines a macro that defines the export directive. When the name of the macro is changed, the LCSExampleTransform.h (or MyTransform.h) and LCSExampleFactory.cpp (or MyFactory.cpp) files need to be edited accordingly as well. Make sure the MYLCS_EXPORTS entry matches the preprocessor definition in the properties of the project for both Debug and Release mode.
Algorithm class
To implement a new LCS algorithm, one would create a C++ class like the LCSExampleTransform class; the new class would inherit from CMLCSTransformBase, and its constructor and internalUpdate() are the only functions that need to be overloaded.
- The Description variable is the identifier that is displayed in the O3D gui and is set using the setDescription() function. Internally, this string is used for the instantiation of the correct algorithm class object.
- The m_Side variable enables the implementation of both the proximal and distal LCS algorithms for a particular bone in one C++ class.
- The m_Landmarks variable stores the mandatory and optional landmarks used by the algorithm. Each landmarks constructor takes a string for the name that is displayed in the application gui. By default a landmark is not optional; use the setOptional() function to change this.
The implementation of the algorithm goes into the internalUpdate() function. The function will use the object's surface model data (m_Mesh; for the CM3DFmtBase class see the CM3DFmt.h file in the \include\CMLib\CMCore\CM3DFmt folder in the DSX SDK installation folder) and the landmark data (m_Landmarks) to determine the elements of the 4×4 row-major Matrix member variable. The transformation matrix represents the transform from the object's CT coordinate system to its local coordinate system (LCS).
Factory
Additionally a factory class like the LCSExampleFactory is needed. The class is derived from cmFactoryBase and is used in the DSX applications to create the correct instantiation of a LCS algorithm class object from the description string that is chosen in the application. Unless the name of the factory class is changed, the header file does not need to be edited. The extern functions in the MyFactory.cpp are used by the DSX applications for some checks and the creation of the factory object during runtime. Make sure the correct class object gets created in the cmLoadFactory() function:
''%% extern "C" %%''**''%%MyDLL_EXPORT MyFactory%%''**''%%* cmLoadFactory() { return %%''**''%%MyFactory%%''**''%%::createInstance(); } %%''
The CM_CREATE_CREATE_FUNCTION macro (defined in cmFactoryBase.h) is used to create the static functions that the factory uses to create the algorithm class objects and is used as follows:
''%% CM_CREATE_CREATE_FUNCTION(%%''**''%%MyTransform%%''**''%%) %%''
In the constructor of the factory class the various algorithm classes are registered:
''%% %%''**''%%MyFactory%%''**''%%::%%''**''%%MyFactory%%''**''%%(const char* identifier) : cmFactoryBase(identifier)%%''
''%%{ %%''

''%% %%''

%%//%% register built-in classes
**MyTransform** lcs_algo = **MyTransform**::createInstance();
this->registerClass("CMLCSTransformBase", %%//%% changes for different algorithm types
lcs_algo->getClassName(),
lcs_algo->getDescription(),
0,
cmObjectFactoryCreate**MyTransform**);
lcs_algo->deleteInstance();

''%%} %%''
NOTE: Depending on the situation, each factory uses either the string returned with CMObjectbase::getClassName() or CMObjectbase::getDescription() to create one of its registered class objects. In case of duplicates the first instance that is found is used.
NOTE: Ignore the warning C4275: non dll-interface class 'A' used as base for dll-interface class 'B' that Visual Studio generates.
Debugging your code
Debugging code created with the DSX SDK requires the DSX Suite to be installed as well. Because the applications in the DSX suite are release builds, you can only debug the release build of your dll. The *.vcxproj.user file in the DSX SDK Example installation folder ensures the Orient3D application is started when debugging is started (F5 key) in Release mode.
NOTE: Realize that debugging release code means certain parts of the code might have been removed from the optimized code. Some additional information can be found here and here.


