Table of Contents
Visual3DServer Installation
Visual3DServer Hardware Requirements
Visual3DServer runs most effectively on computers with the most CPU, RAM, and Network Capacity as possible. The lower the capacity of the computer the slower the reaction time between the server, it's data sources, and it's clients.
Visual3DServer Software Requirements
Visual3DServer can be operated on computers running Windows Vista Windows 7, and newer versions. At this time Visual3DServer is not compiled for operating systems other than Windows, however it may be if required.
Downloading Visual3DServer
C-Motion software is all downloaded over the Internet at www.c-motion.com.
Customers are provided login information to access the download page.
After you log in at www.c-motion.com, you will see a screen similar to this:
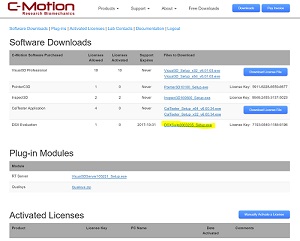
- Click the DOWNLOAD Buttons to save the Visual3DServer installation file to your computer.
Most web browsers will offer you a choice of where to save the downloaded file. Make sure you remember where you save the downloaded file.
Run the installation executable file you downloaded.
Installing Visual3DServer
When you run the executable file that you downloaded you will be guided though the following steps.
1. Your computer will confirm that you trust the source of the program you are installing.

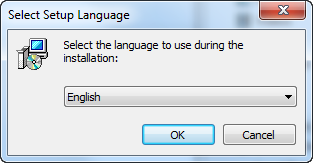
2. You will be asked to select either English or French as the language to be used for installation.
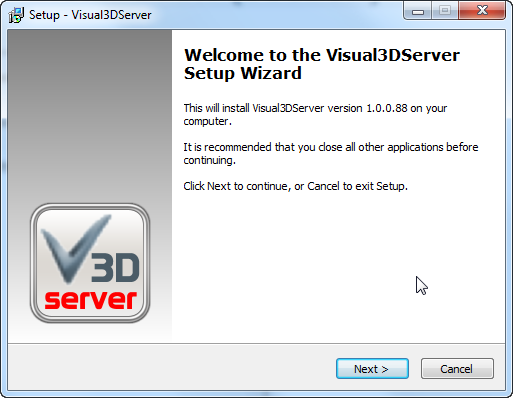
3. The Setup Wizard will be activated and it will be recommended that you quit all other applications before continuing. Note that this page tells you what version you are installing.
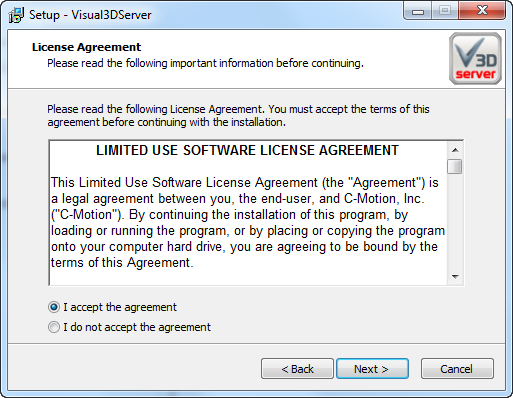
4. You will then be presented with the licensing agreement. It is very important that you read it before continuing.
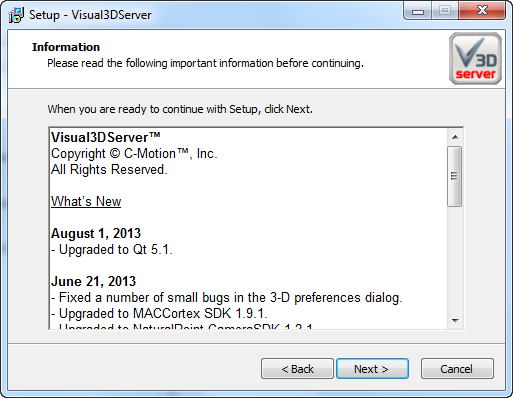
5. You will then be presented with an Information window that has copyright information and details of what has been improved for the current version.
6. You need to select which hardware plugins you would like to install along with Visual3DServer. We recommend that everyone selects the C3D file plugin as well as the plugin for each motion capture systems that you use. We also recommend not installing plugins that are not needed in order to avoidnconfusion. Should you purchase another hardware system you can always reinstall Visual3DServer and change the plugins that you select.
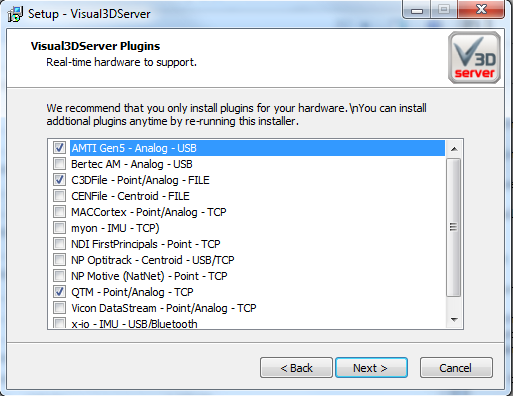
7. You will then be asked to confirm, or chose, where you would like to install the program.
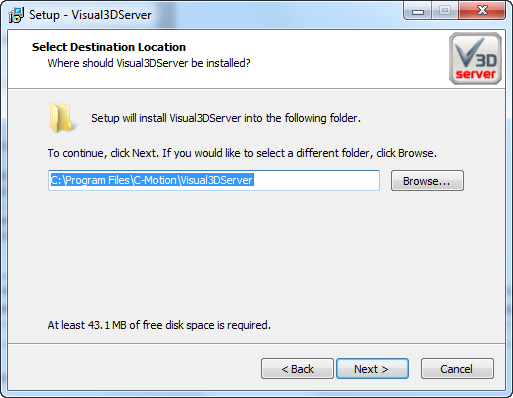
8. You will then be asked to confirm, or chose, where you would like to install the program's shortcut.
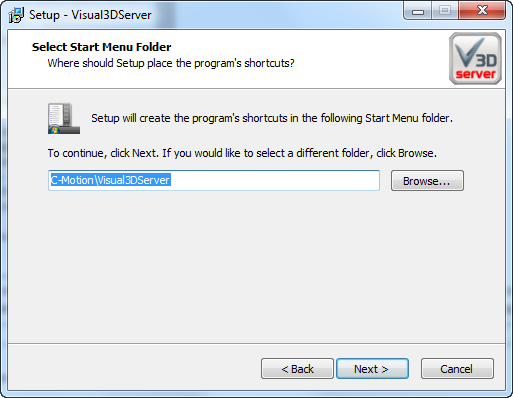
9. You will then be asked if you would like to create a desktop shortcut icon to facilitate access to the program.
![]()
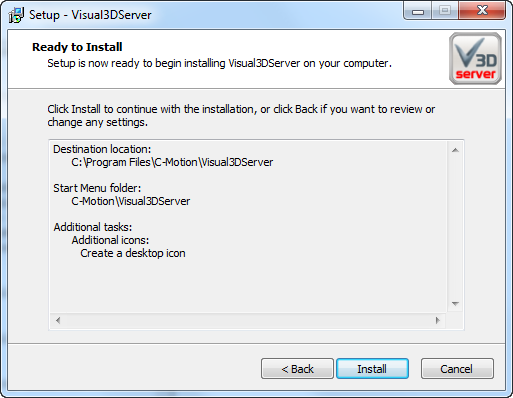
10. You will then be present with a summary of where files and shortcuts will be installed. This is your last chance to go back and change your installation choices.
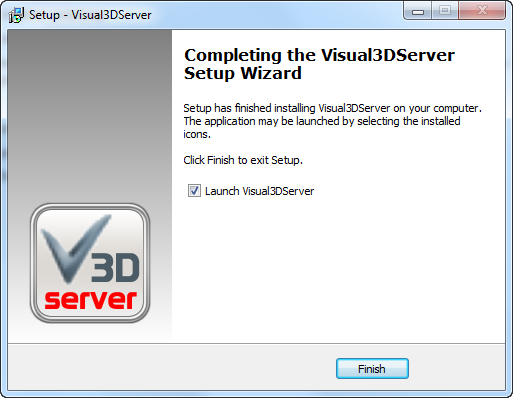
11. When the Completed dialogue appears Visual3DServer has been successfully installed on your computer. If you leave the checkbox selected Visual3DServer will be opened automatically, after you click the Finish button.
Activation / Deactivation
If you wish to use Visual3DServer to stream to biofeedback clients you will need to purchase a license and activate the Server. The instructions for activating Visual3DServer are listed below, once the Server is activated you will not need to repeat these steps again unless the Server is deactivated. Each of the Licensing keys can only be used on one computer at a time. If you wish to use the Licensing key on another computer you will need to deactivate the Server on the computer that the Licensing key is being used on (instructions are below.) You can then use that key to activate the Server on another computer.
Activation
When Visual3DServer is not licensed/activated it is only able to broadcast to Visual3D. In order for Visual3DServer to broadcast to a biofeedback application it must be licensed/activated with the following steps.
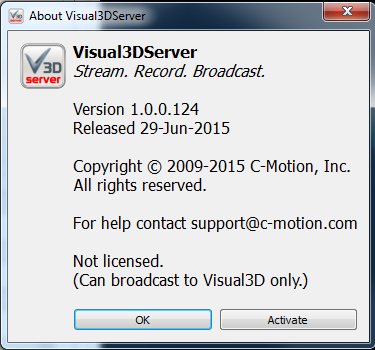
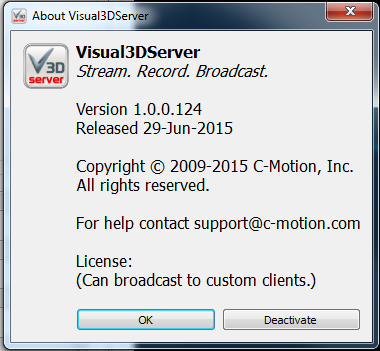
1. In order to activate Visual3DServer click on the About button in the bottom right hand corner.
2. If the program has not been activated the “About” Dialogue box will have an an “Activate” button in the bottom right hand corner. Click on the “Activate” button to proceed with the activation.
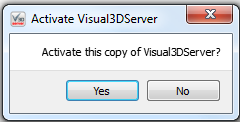
3. You will be asked to confirm that you want to continue with the activation.
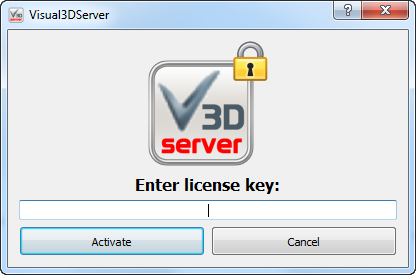
4. You will be asked to entre your licensing key into the text field. It is a string of four sets of four numbers (ie. #### - #### - #### - ####) which is normally e-mailed to you when you initially purchase Visual3DServer. The number can also be found on the c-motion website when you login to your customer's download page. If you press the Cancel button Visual3DServer will close without being activated.
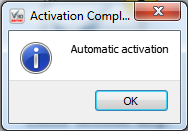
5. When you press activate on the above dialogue box the “Activation Complete” notice should appear.
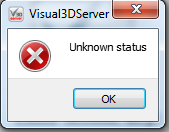
NOTE: If you receive the “Unknown Status Error” notice verify that you have entered the licensing code correctly. If the problem persists contact support@c-motion.com for further assistance.
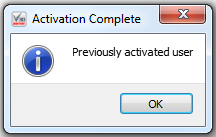
NOTE 2: If you receive the “Previously Activated User” notice then the licence is already in use and you will either have to deactivate it on another computer or purchase an additional licence.
Deactivation
1. In order to deactivate the licensing key you need to open the “About” window by clicking on the “About” button at the bottom right of the screen.
2. Once the About window is open you need to click the “Deactivate” button located at the bottom right of the dialogue box.
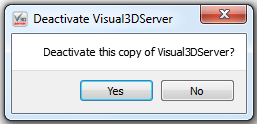
3. A dialogue box will appear in order to confirm that you want to deactivate your licensing key. Click Yes to continue otherwise you will be returned to the About window.
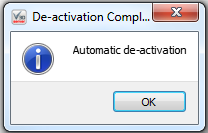
4. The final window will appear to inform you that the licensing key has been successfully deactivated. You will then be returned to the “About” dialogue box.
Uninstalling Visual3DServer
If you want to completely remove Visual3DServer from your computer you will need to uninstall it.
1. Close Visual3DServer completely.
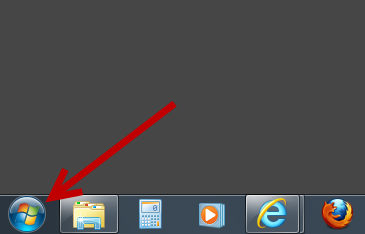
2. Click on the bottom left of your screen in order to open the Start menu.
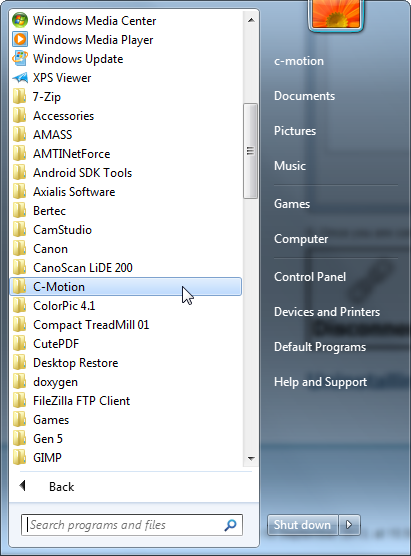
3. Click on “All Programs” and navigate to the folder named C-Motion.
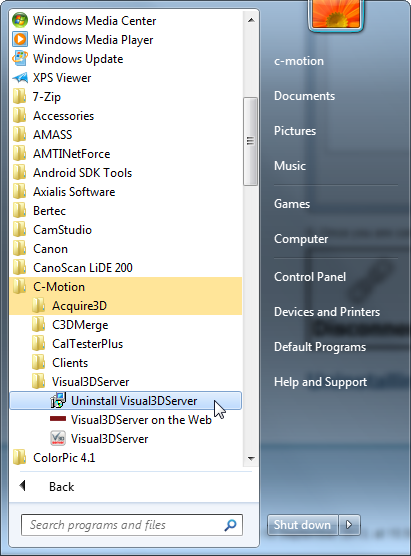
4. Expand the C-Motion folder and the Visual3DServer folder.
5. Click on the Uninstall Visual3DServer.exe
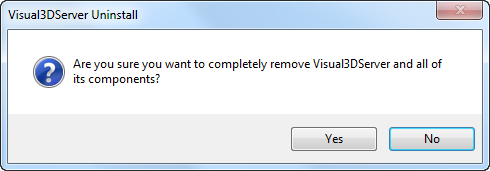
6. Your computer will confirm that you wish to remove Visual3DServer from your computer. Select Yes to continue.
7. Visual3dServer will confirm that you wish to remove Visual3DServer from your computer. Select Yes to continue.
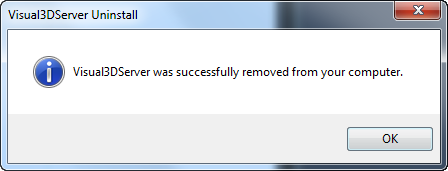
8. There will be a brief pause as the program finds all of the files that need to be deleted and removes them permanently from your computer. You will then get a message stating that Visual3DServer has been successfully removed from your computer.
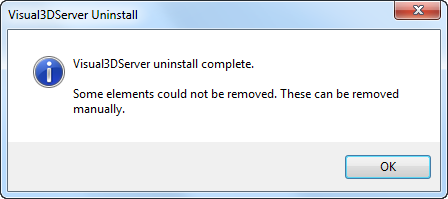
Note: Should you neglect step number 1 and try to uninstall Visual3DServer while it is running you will get the following message. This means that while you have removed the essential components for running Visual3DServer there has been some portion left behind which must be deleted manually.


