Table of Contents
RT Plugin AMTI Gen5 Type7
Overview
The AMTI Gen5™ Type 6 Plugin is only used in Visual3D Server™; it connects to AMTI™ hardware.
Plugin Interface
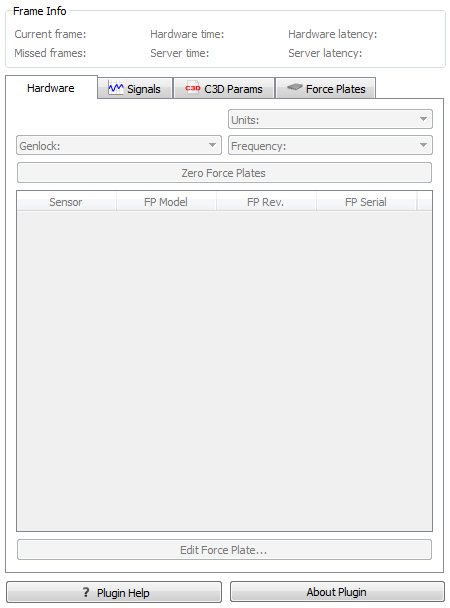
The “Plugin Help” button leads to this web page should you need to reference this page in the future.
The “About Plugin” button has details on the plugin being used including version, release date, copy right, support contact information and the hardware SDK version.
Frame Info
Current frame The current frame number on the top left hand side on the screen (where it currently reads ……) keeps a count of the current frame which is assigned by the hardware or software system.
Missed frames The missed frames number is on the bottom left (where it currently reads ……). Whenever there is a gap in frames sent by the hardware of software system a blank frame is inserted. The dropped frames count keeps a record of both the number of frames which are blank.
Hardware time The hardware time number is on the top, in the centre (where it currently reads …..). This time stamp is created by the hardware being used and is how long, in milliseconds, the hardware has been running.
Server time The server time number is on the bottom, in the centre (where it currently reads …..). This time stamp is created by the server and is how long, in milliseconds, it has been connected to the hardware or software which is streaming to it.
Hardware latency The hardware latency is on the top right hand side (where it currently reads ….. ms). This indicated the delay created by the hardware system.
Server latency The hardware latency is on the top right hand side (where it currently reads ….. ms). This indicates any delay introduced by the server.
Hardware
Units
The Units setting are only available in Metric and may either be set to Unconditioned or Conditioned. Unconditioned allows the signal conditioner to act as a traditional analog amplifier. Conditioned uses the signal conditioner to invert the sensitivity matrix to eliminate cross-talk. It also allows the signal conditioner to correct for channel excitations, channel gains, cable length, and bridge resistances.
Genlock
There are three options for Genlock, off, on (rising edge), and on (falling edge). Genlock is used only when there are more than one system in use (i.e. the force platforms and a camera system). It allows the systems to be synchronized and is set on the back of the force platform amplifier. The Genlock works by sending regular electrical pulses to the computer. Setting Genlock to off will tell the computer to ignore these pulses. Setting the Genlock to on (rising edge) means that the computer will acknowledge the pulse when it reaches it's maximum strength. Setting the Genlock to on (falling edge) means that the computer will acknowledge the pulse as it dissipates.
Frequency
While force platforms generated an analogue signal it is necessary to convert the analogue data into digital frames in order to process it and in order to use it along side digital data, such as what is generated by a camera system. In order to divide the analogue signal into frames of data you must specify the rate at which you would like to sample the data. The frequency for sampling is measured in Hertz, where 100 Hz is 100 frames per second. Frequency may be set between 10 and 2000 Hz. If there is no digital system (i.e. camera system) in use then the frequency set may be based on user preference. However, in order to use the force platform data with other digital data the force platform frequency must be divisible by the frequency of the other data.
Zero Force Plate
When the Zero Force Plate button is used it will reinitialize the force platform hardware by resetting the channels to their lowest level. This allows you to define a level of zero force, which is useful if there is something covering the force platform.
Hardware Specifications Table
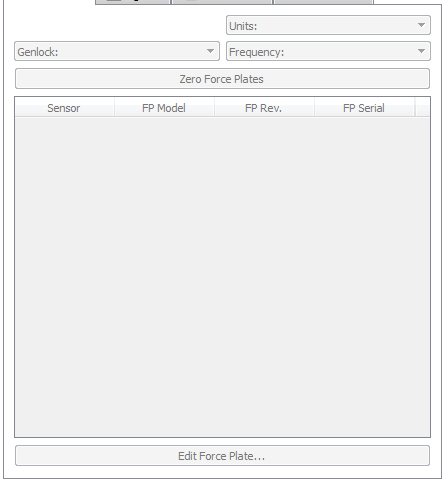
The Hardware Specifications Table has a list of the hardware units that are connected to Visual3DServer. Not all hardware systems will populates all four columns as not all manufacturers number in four distinct ways on their hardware. The first column “Name” has the make of the hardware (AMTIGen5 for example) and the number of the hardware piece, in case there are more than one type of the same make and model (1, 2, 3 . . .). The second column “Model” lists the hardware model number. The third column “Rev.” lists the hardware Revision number which is used by certain hardware system manufacturers and is specific to the piece of hardware. The fourth column “Serial” lists the serial numbers of the hardware pieces which are connected.
Edit Force Plate
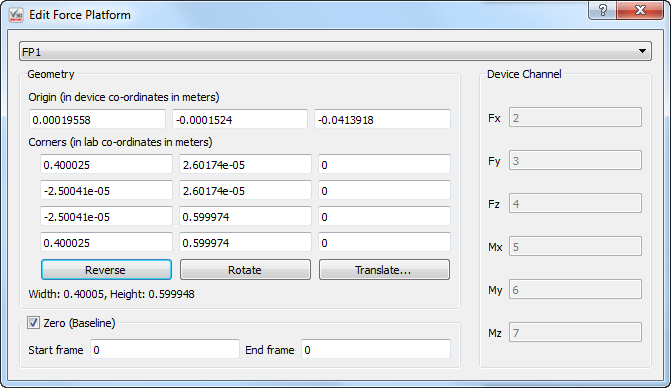
The Edit Force Plate button will open the Edit Force Plate Window as seen to the right.
At the top of the window is a drop down menu which allows you to select which force platform you would like to make changes to. In the sample picture it is set to FP1.
To the far right of the window is the Device Channel list. This cannot be adjusted but provides a readout of channels which are being used by the force platform
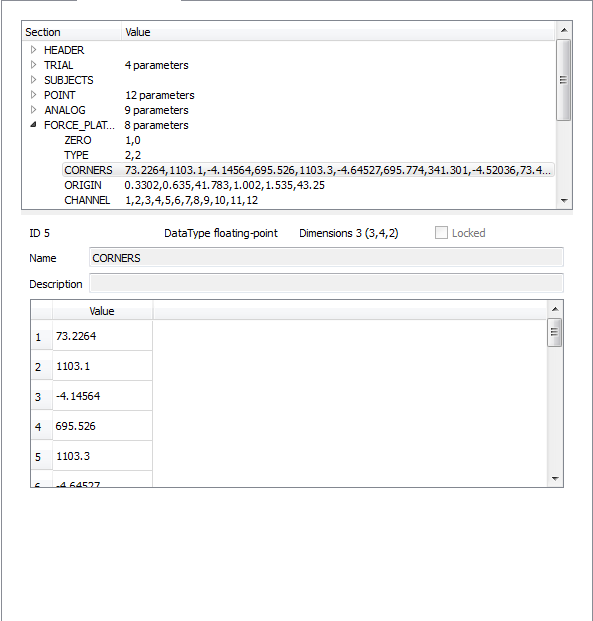
The Geometry section of the window includes the Origin, the Corners, and the Width and Height. The Origin indicates where the Origin (0,0,0) is located relative to the force platform's co-ordinate system. Values are in meters and can be altered by the user. The Corners are the co-ordinates of the each of the force platform's corners relative to the lab co-ordinate system. Values are measured in meters and can be altered by the user. There are three buttons associated with the Corners section which allow the user to easily manipulate where the force platform is located in the lab co-ordinate system. The Reverse button allows the user to change the numbering of the force platform corners making the numbering go counter clockwise if it is initially set at clockwise. This has the result of changing which direction the force platform decides is up. The Rotate button allows the user to twist the force platform in place in increments of 90 degrees. The Translate button allows the user to move the force platform along any of the three axis (x, y, and z) by the magnitude that is entered. The Width and Height is provided to the computer by the Visual3DServer by the force platform and it can be changed by the user if they change the locations of the corner co-ordinates to describe a force platform with different dimensions.

