Table of Contents
Batch Command Line Processing Tutorial
In this tutorial, we will guide you through running Sift on the command line. You'll learn how to load a library, execute queries, run PCA (Principal Component Analysis), and use it for outlier detection. After walking through each command step by step, we’ll create a batch script to automate these tasks. We'll also include some logic to further streamline the process. To get started, download the sample data folder. automation_tutorial.zip
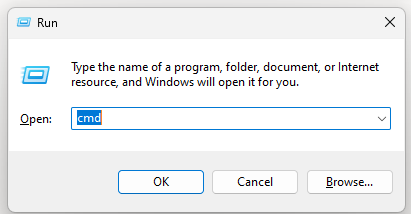
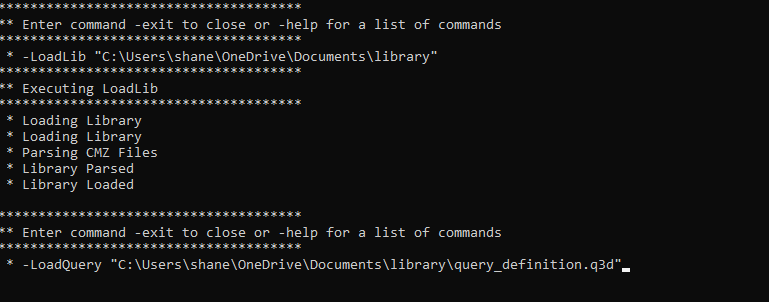
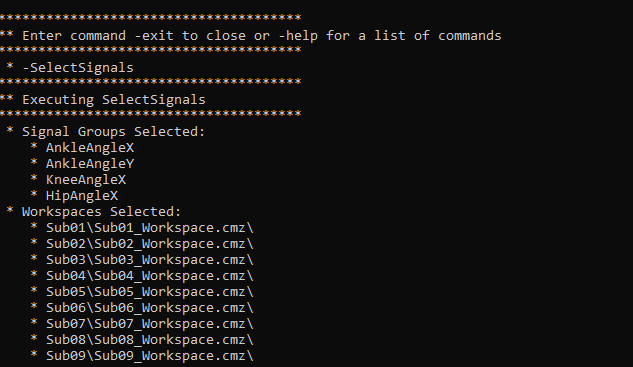
Running on Command Line
- This will open new console where we can interact with Sift
Now that processing is complete, we have two exports detailing group and workspace-level outliers, along with a saved project file that excludes all detected outliers. This can serve as a baseline for future processing.
Batch Processing
Now that we have a clear understanding of our baseline processing, it's time to automate the workflow!
The Scenario
To effectively automate a process, we need to understand all the details. Let’s create a scenario:
Imagine we're working with a baseball team, and each day at practice, we gather data that needs to be processed. This data is stored in date-labeled folders within a root directory, and inside each folder are three trials containing relevant C3D files.
The Plan
Now that we know what we're dealing with, we can plan how to build our batch script. First, we’ll need to check each folder within the root directory. If a folder doesn’t already contain our exports (such as .txt files and .i3d files), we know that folder still needs to be processed. Below is a batch script that accomplishes this. You’ll need to modify the path in targetDir, as well as the path pointing to Sift.exe, to match your computer's setup. Afterward, save the file as a .bat. To do this, create a .txt file and rename it, changing the extension to .bat.
@echo off
setlocal

:: Set the target directory where the practice data is stored
set "targetDir=C:\Users\shane\OneDrive\Documents\practice"

:: Loop through each folder (%%d) in the target directory
for /D %%d in ("%targetDir%\*") do (

    :: Reset the flag to check if an i3d file exists
    set "i3dFileFound="

    :: Loop through each .i3d file in the current folder
    for %%f in ("%%d\*.i3d") do (

        :: If an i3d file is found, set the flag to true
        if exist "%%f" (
            set "i3dFileFound=true"
        )
    )

    :: If no i3d file was found, process the folder
    if not defined i3dFileFound (

        :: Set the folder path that needs processing
        set "folderWithoutI3d=%%d"

        :: Run Sift with the necessary commands to process the data
        "C:\Program Files\Sift\Sift.exe" -NoGui -LoadLib directory "%%d" -LoadQuery file "%%d\query_definition.q3d" -selectSignals -RunPCA name "Outlier_PCA" -RunLOF grouping "group" autoExclude -ExportPCA file "%%d\Group Outliers.txt" exportFormat "transposed" lof lofThreshold -RunLOF grouping "workspace" autoExclude -ExportPCA file "%%d\Workspace Outliers.txt" exportFormat "transposed" lof lofThreshold -SaveProject file "%%d\Outliers.i3d" -Exit
    )
)

:: End the script and clean up
endlocal
The Execution
Now that we have our script ready, running the processing is as simple as double-clicking the .bat file. But we can take the automation a step further! By using Windows Task Scheduler, we can set the batch script to run at a specific time each day automatically.
That's it! Your script is now set to run every night at 12:00 AM automatically, with no further input required from you.


