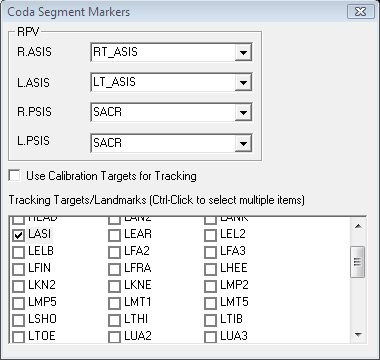
Create CODA pelvis relative to anatomical landmarks
Create CODA pelvis relative to anatomical landmarks.
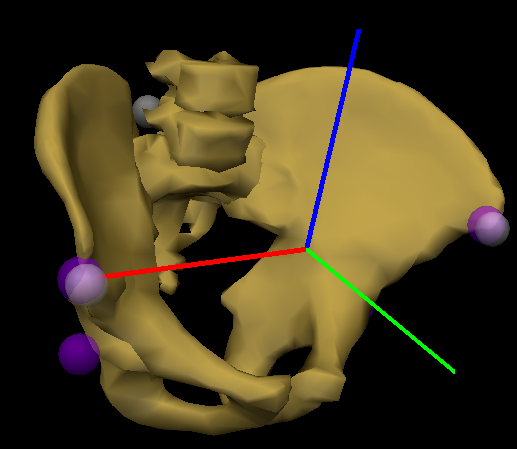
The segment coordinate system for the CODA pelvis is the mid-point between the ASIS markers. The anatomical landmarks are actually posterior to the ASIS markers because the motion capture system tracks the center of the marker.
This is a modest error, but it can be corrected by creating landmarks that are posterior to the ASIS markers by the radius of the motion capture marker.
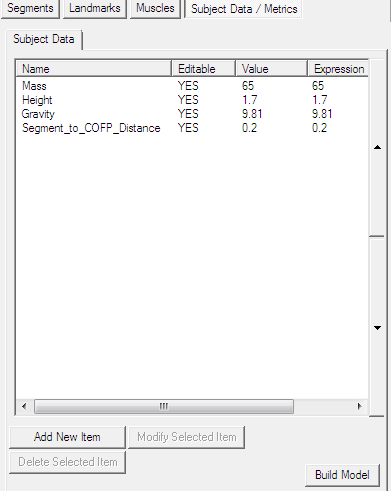
Step 1. Confirm the subject metric containing the marker radius.
If the metric doesn't exist, create a new metric.
Switch to Subject Data/Metrics TAB.
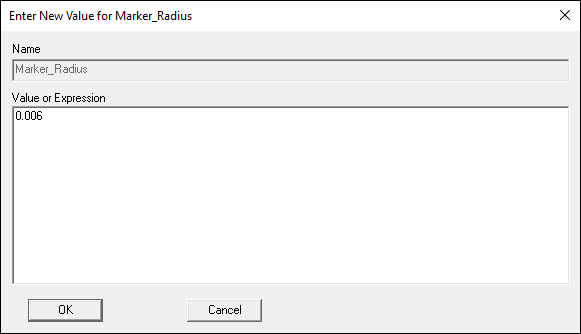
Select Add New Item and enter in the name Marker_Radius and the value.
In this example, the marker has a diameter of 1.2 cm. Visual3D uses MKS units, so the value is 0.006 meters.
Note: If the radius is not consistent with your marker radius, modify the value.
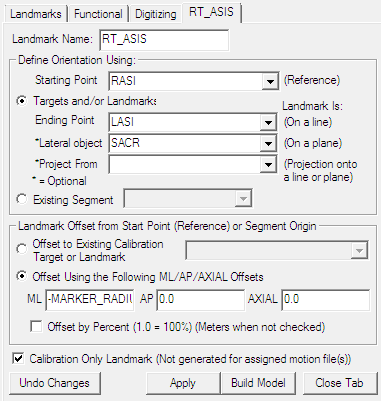
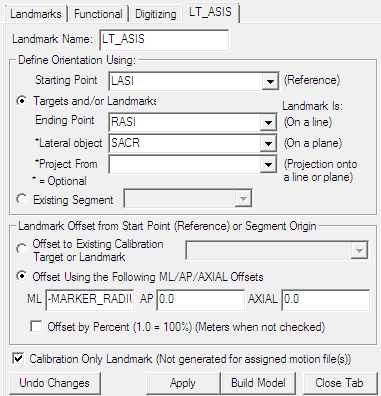
Step 2. Create landmarks for the ASIS markers
Note: the ML Edit box contains the expression -MARKER_RADIUS
Note: the ML Edit box contains the expression -MARKER_RADIUS

