Table of Contents
Add an Image to a Report
To complete this tutorial, please download the sample files here.
CreatingReport_Tutorial_Image_blank.cmo will be used in this tutorial
CreatingReport_Tutorial_Image.cmo contains the completed cmo file
All the steps in this tutorial may also be scripted in a pipeline. To see an example please view the Simple Pipeline tutorial.
More advanced pipelines can be made to add an image to a report, an example is shown here.
Outline
Adding an image to a report can be completely automated using a pipeline script, or images can be manually created.
To add an image to a report:
1) The image must be exported from the Signals and Events tab by:
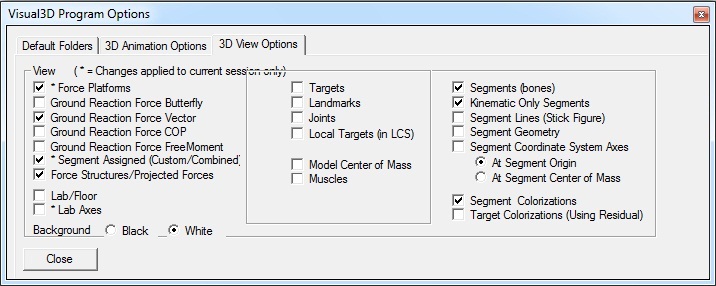
a. Setting the 3D View Options
b. Setting the camera perspective
c. Exporting the image by going to File → Export Animation Frame to Image
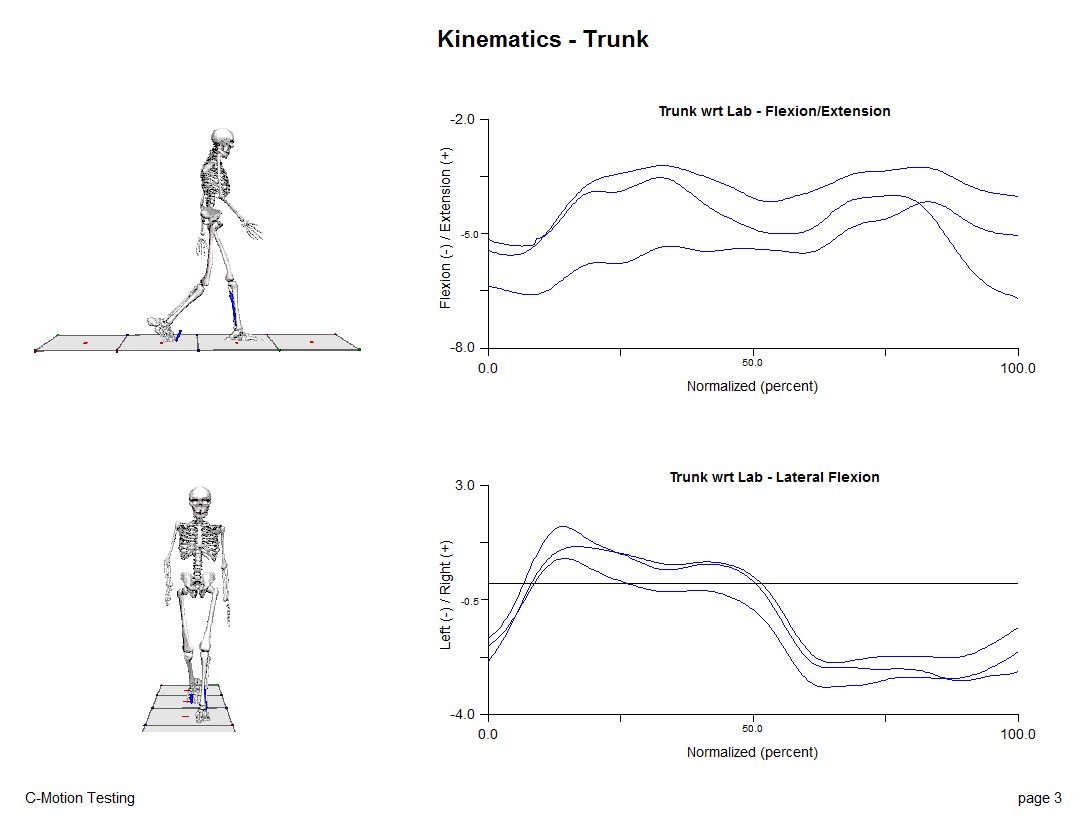
2) The image can then be added to the report by selecting “Image” as the item to add from the Report tab
NOTE: Images are specific to the subject and are saved within the cmo file, not the report template.
Export Animation Frame to Image
Prepare the image for export
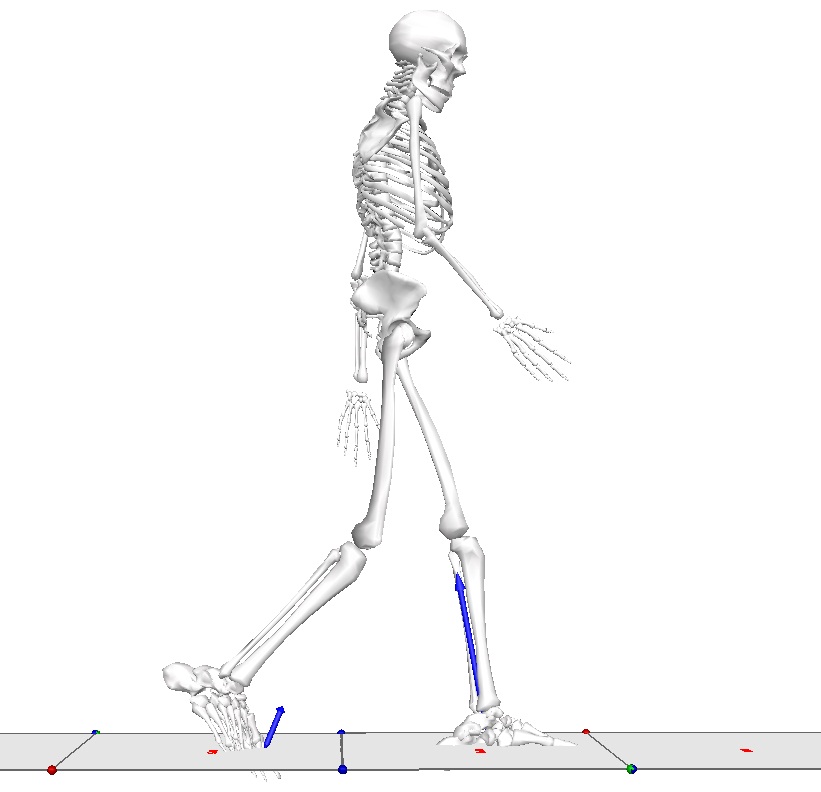
Export the first image of the sagittal view of the subject.
Export the image
| After setting the 3D viewer options, export the image by going to: 1. The File drop down menu 2. Selecting Export Animation Frame to Image a.Browse to the location to export the image | 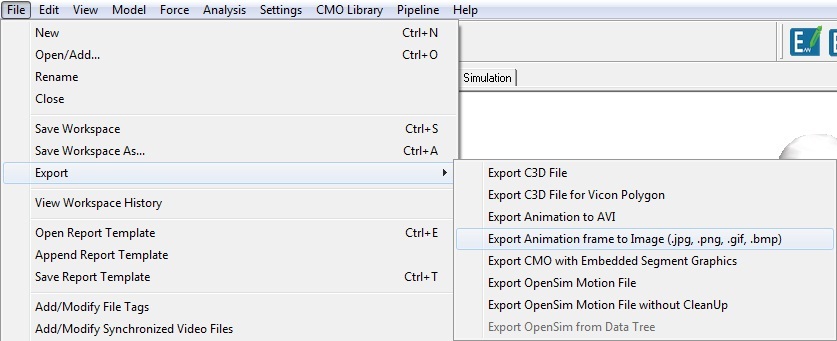 |
Export Image 2 - A/P View
Follow the same instructions as for the first image, but change the camera export perspective to the A/P view of the subject and export the image using a different name.
Add the image to the report
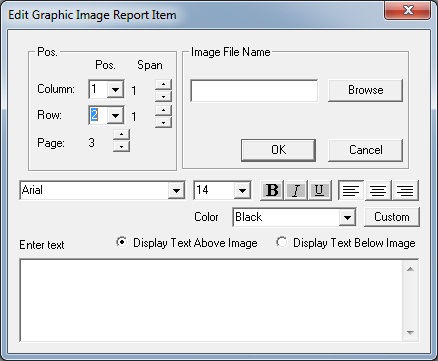
| Set the parameters to the following: a. Column: 1 b. Row: 1 c. Page: 3 c. Image File Name: Browse to the sagittal view exported image d. Select OK | 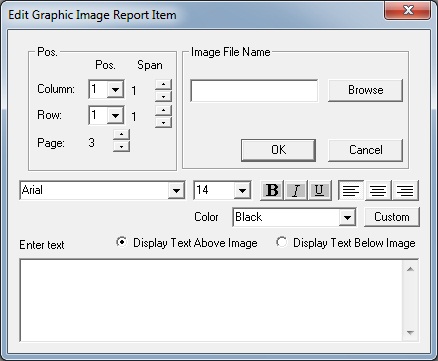 |


