Table of Contents
Correcting Mislabeled Markers
It sometimes happens that mistakes are made in the labeling of your markers, either through operator error of the motion capture system's difficulty recognizing markers throughout a trial. These mistakes must be fixed in order to ensure high quality data. This is the first step towards producing useful follow-on analysis.
Our recommendation is that mistakes like these should be corrected as close to the actual data collection as possible. Ideally you will do this in the motion capture software provided by your vendor of choice, as this gives you the best chance to recognize mistakes and to apply the correct fix. If that is not possible, or anything is missed during data collection, then you can fix these mistakes in Visual3D. This tutorial explains how to do exactly this, using the specific example where the RTH1 and RTH2 markers have had their labels switched, i.e., the RTH1 marker is labelled as RTH2 and vice versa.
Note: There is also a video tutorial available here
Data Files
As this is a reasonably straight forward process in Visual3D, no example files are provided for you to work through. This process can be tested on any of your files containing marker-based data, for example by purposefully mislabelling two TARGETs and then fixing them.
Fixing Mislabeled Markers
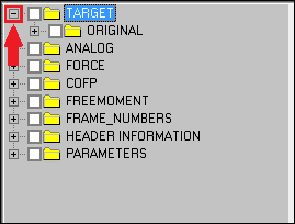
1. Expand the TARGET data type in the Signals and Events tab's Data Tree by clicking on the + sign next to it.
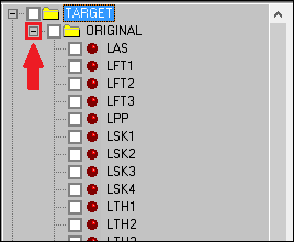
2. Next expand the TARGET data type's ORIGINAL folder by clicking the + sign next to it.
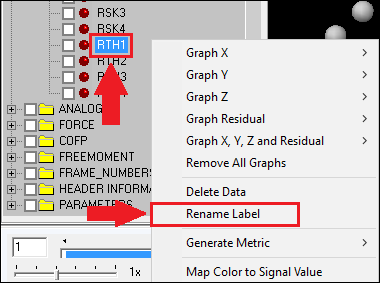
3. In the ORIGINAL folder's list of signals, find the first of the mislabeled markers, in this case RTH1, and right click on it. Then select Rename Label.
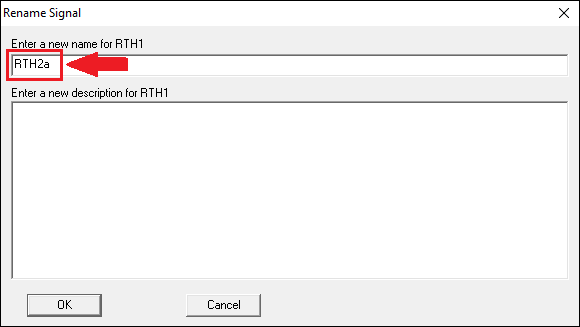
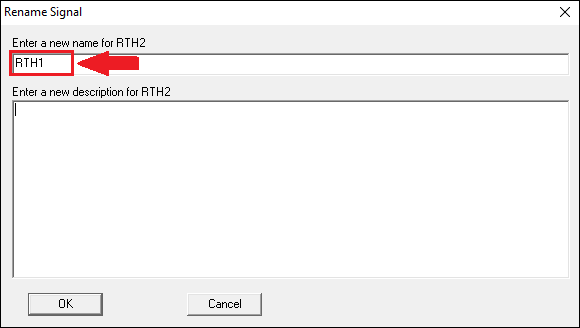
4. The Rename Label window prompts you to input the correct label but because RTH2 is still in use you can't change it to that right away. Instead, use an interim label until you can properly change it; in this example we used RTH2a.
5. Close the Rename Label window.
6. In the ORIGINAL folder's list of signals, find the second mislabeled marker, in this case RTH2. Right click on it to open the Rename Label window and then rename it RTH1.
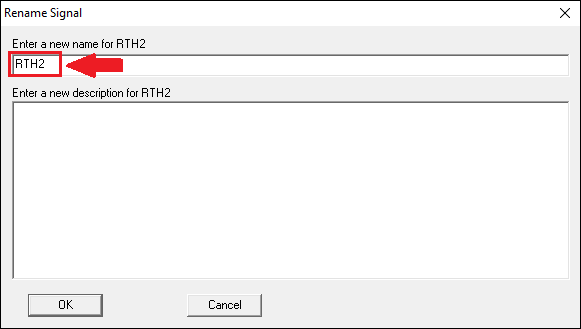
7. Now that the label RTH2 is no longer being used you can go back and replace interim label of RTH2a with the correct label RTH2.
Running Recalc
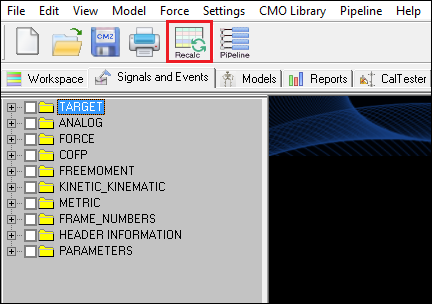
8. The markers are now correctly labeled, the final step is to make sure the correction is completed by clicking the Recalc button. This is a very important step, as without it the changes you have made will not be reflected in your analysis.

