Translations:Getting Started/25/en
Jump to navigation
Jump to search
Verifying The Installation
Verify that Visual3D is installed, licensed and working correctly
- Download the sample data file Visual3DExample1.cmo.
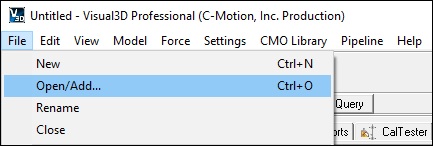
- Launch Visual3D.
- From the File menu, choose Open/Add…
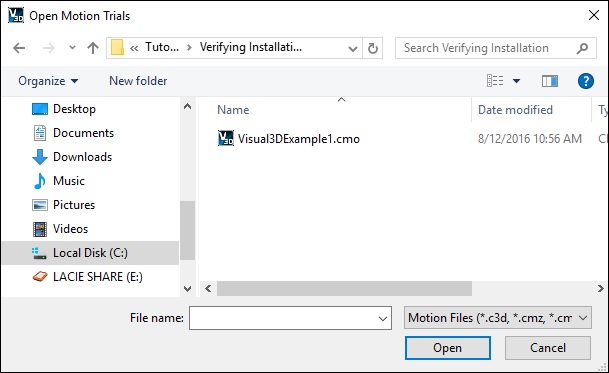
- Locate the file which you downloaded.
- Click the file name to select it and click Open.
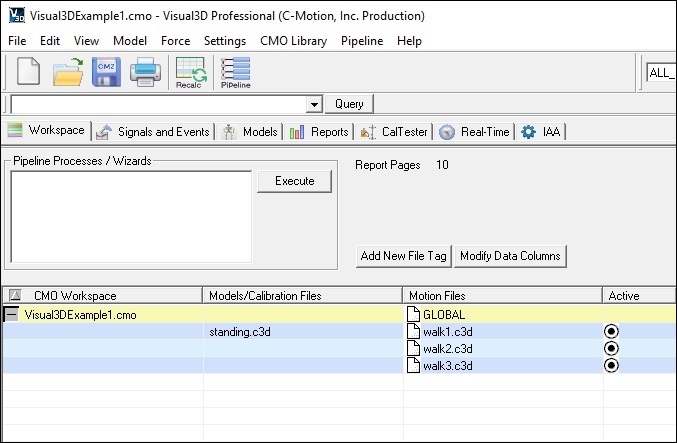
- Visual3D will open to the Workspace tab and you will see 3 items highlighted in blue.
- Above the workspace there are several tabs. Click the Signal and Event Processing tab.
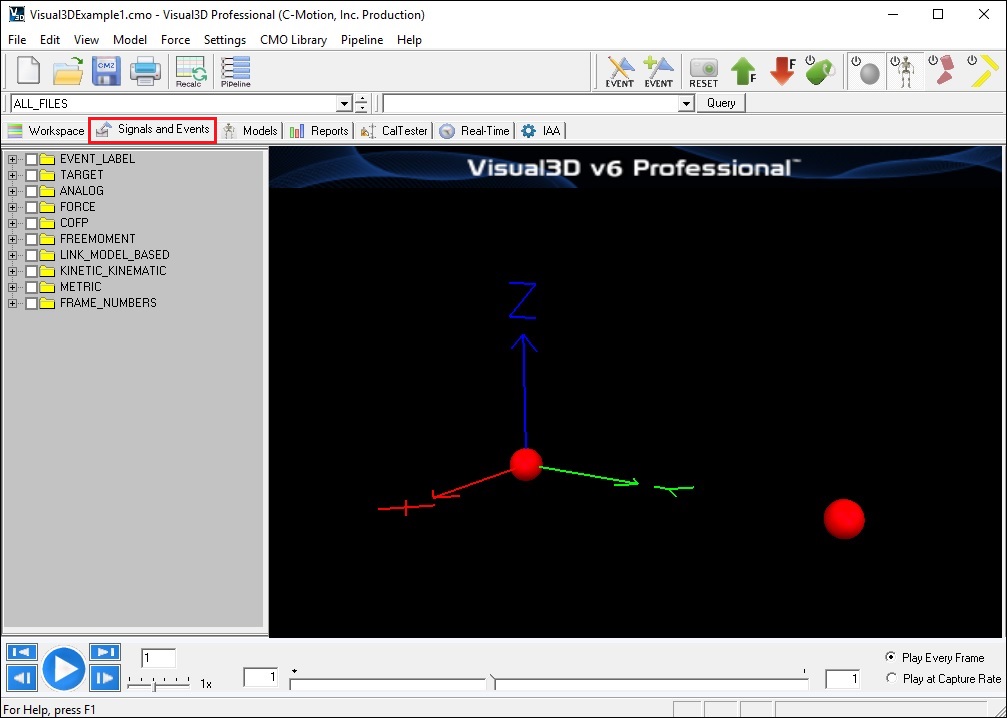
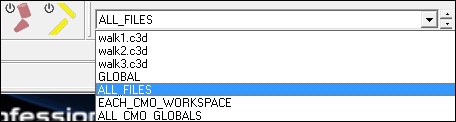
- At the top of your screen, locate the drop down menu with the default value of ALL_FILES. This is the combo menu and it indicates which of the files loaded into your workspace are currently active.
- Use the mouse to change the menu selection from ALL_FILES to Walking1.c3d.
- Click the Play button—the right-pointing triangle—in the VCR control panel at the bottom of the screen. You will then see the animated walking model, similar to the one in the following illustration. If you do not see the animated skeleton check the troubleshoot section below.
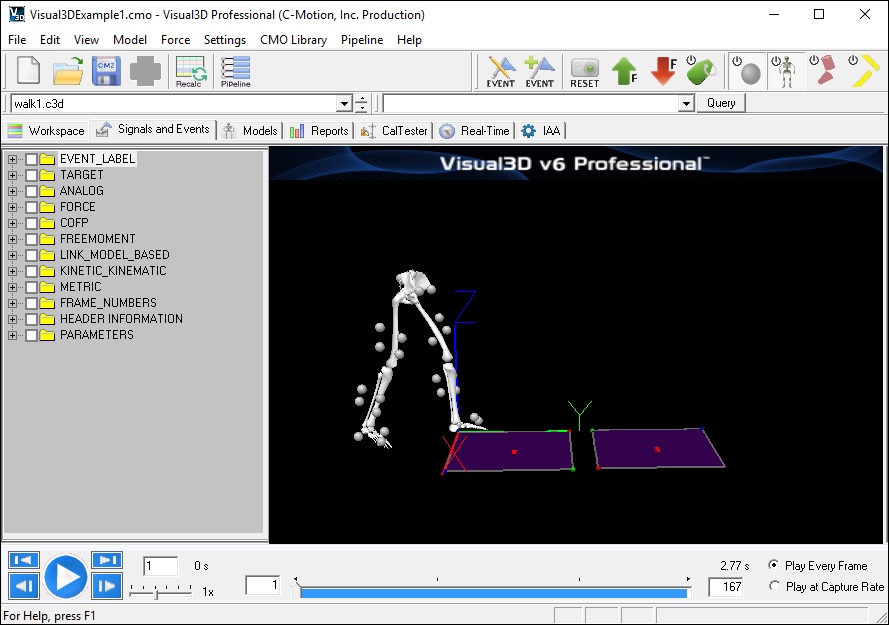
- Use the VCR control buttons and the view options to alter the view.
Note: The 3D animation viewer camera perspective is controlled using the mouse keys and mouse movements. The Visual3D tutorials describe how to control the camera angle along with many other helpful things.


