Tutorial:Functional Joints
| Language: | English • français • italiano • português • español |
|---|
|
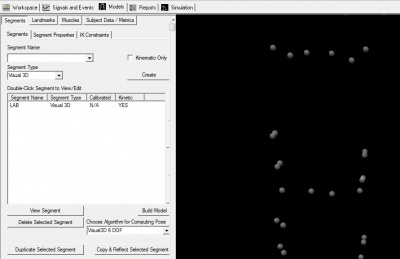
1. Load a static .c3d file into the workspace |
|
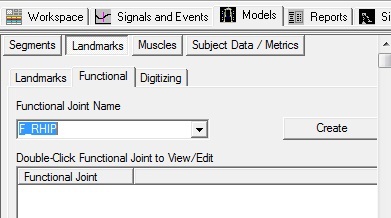
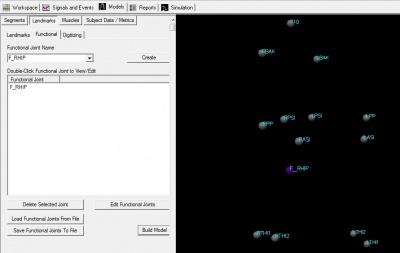
3. Create the F_RHIP
|
|
4. Select tracking targets:
Click Build Model Close tab |
|
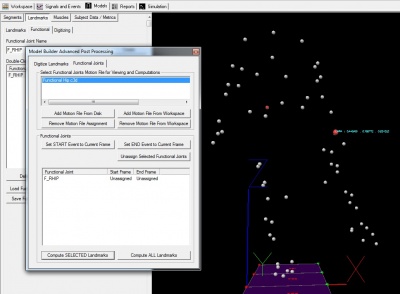
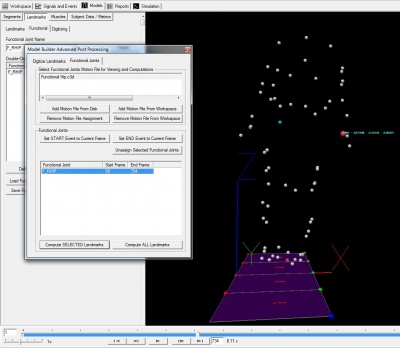
5. Click Post Processing Button |
|
6. In Post Processing dialog Open motion trial Select motion trial (when selected it should be highlighted in blue) |
|
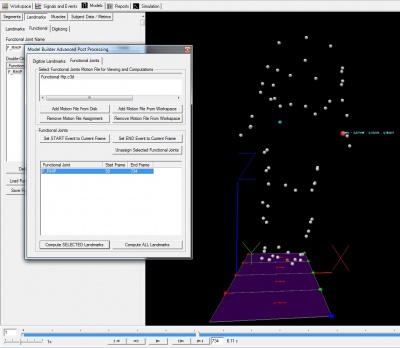
7. Specify Start Frame Find the start frame of the functional activity using the blue slider on the bottom Select the functional landmark (when selected it should be highlighted in blue) Click Set START Event to Current Frame |
|
8. Specify End Frame Find the end frame of the functional activity using the blue slider on the bottom Select the functional landmark (when selected it should be highlighted in blue) Click Set END Event to Current Frame |
|
9. Click Compute ALL Landmarks 10. Results will pop up Click OK 11. Close the dialog box |
|
12. The functional right hip landmark should appear in the 3D viewer |
